mCPX Tail boom extension
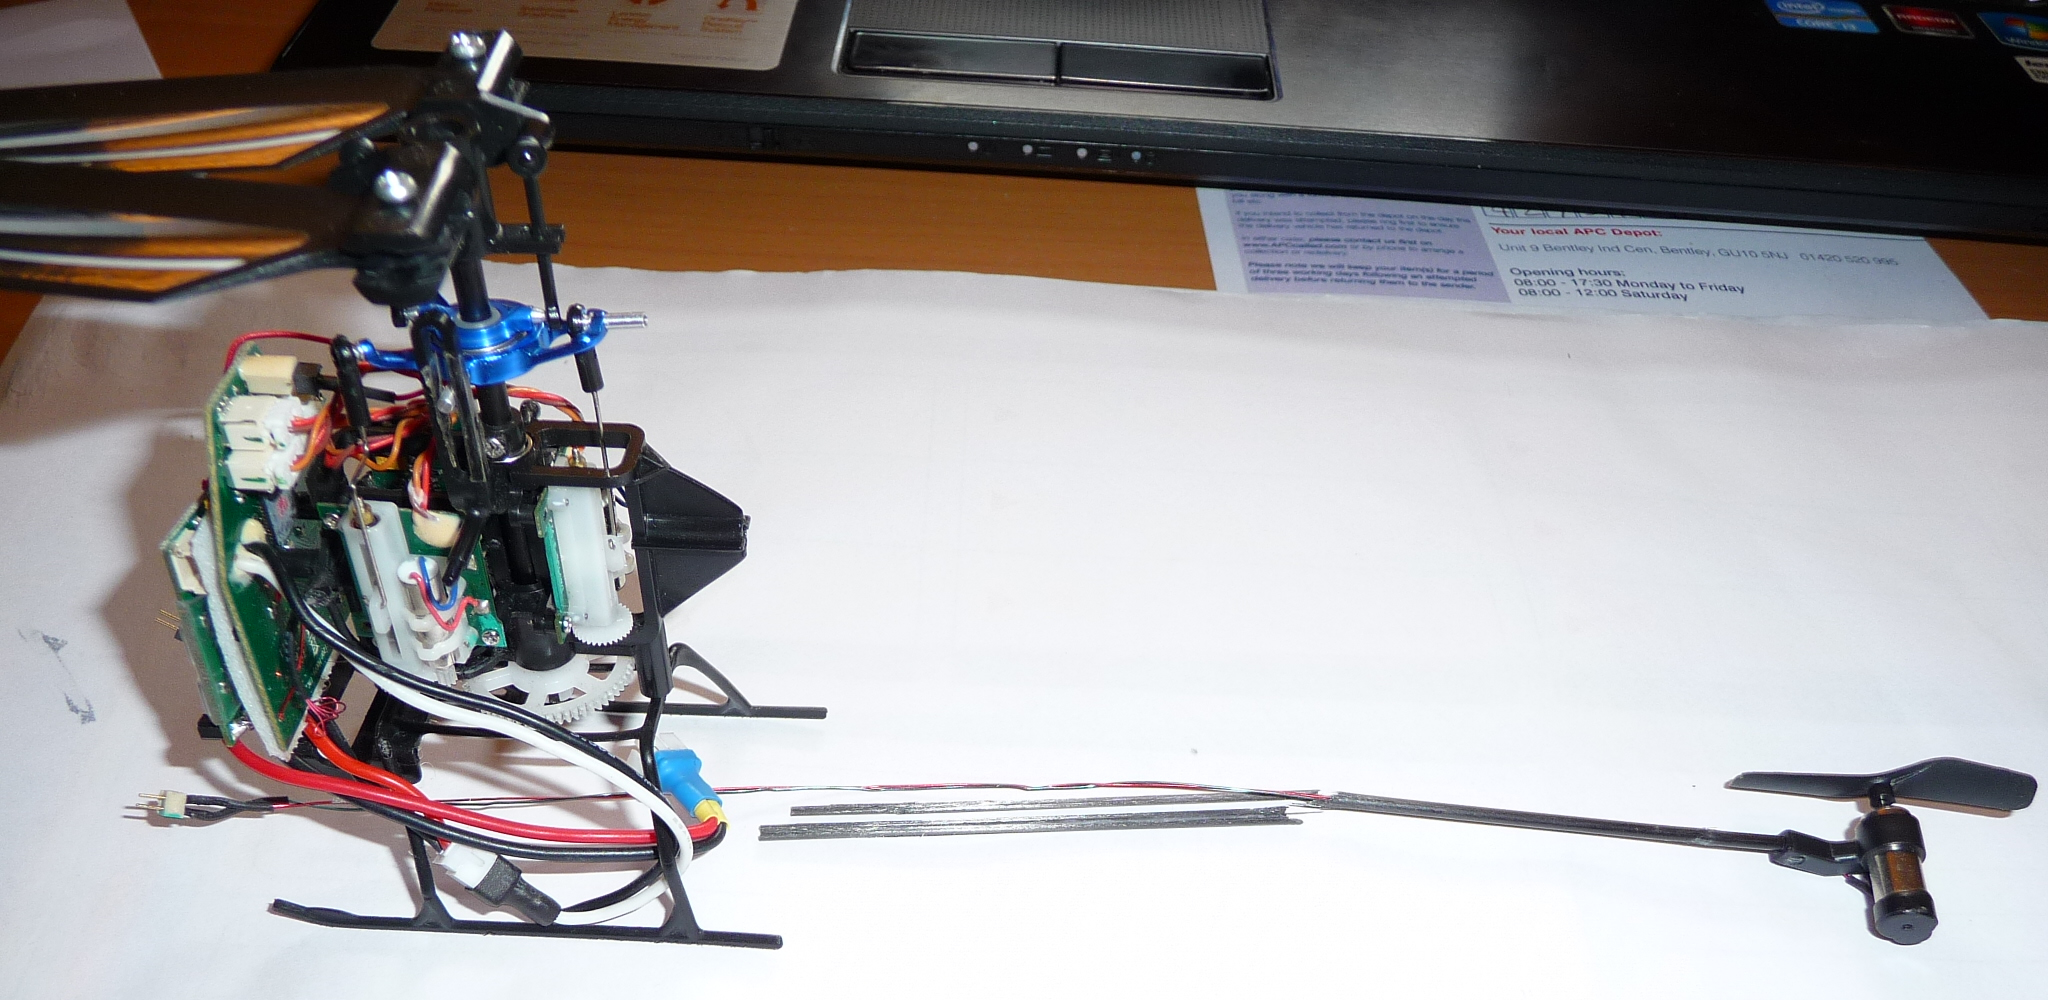
Today I'm proving the principle that to fly is to crash. During a bit of tail first flying I got the dumb thumbs and while trying to avoid crashing into a tree I managed to pile the mCPX into the ground ...... tail first. The mCPX will take an enormous amount of punishment but they don't like crashing tail first:

However this gives me an excuse to replace the stock tail boom with a longer one to try to improve the tail holding during 3D flying. Experimentation seems to suggest 1 to 1.5" longer than stock which makes it 6 to 6.5" total. This happens to be about as long as you can make the new boom without extending the original tail motor wires.
1. Carefully remove the original ( or broken ) tail boom. It should pull out from the frame and the tail motor holder with some gentle pressure. The rod will crush if you squeeze it too hard ( which is useful for removing it from the wires if you don't want it anymore) but some fine nosed pliers got the job done for me. Be careful not to damage the motor wires.. removing them from the 5-in-1 board first might help.

2. Use a dremel cutting tool to cut the new 2mm carbon rod to length. Tube or rod can be used.

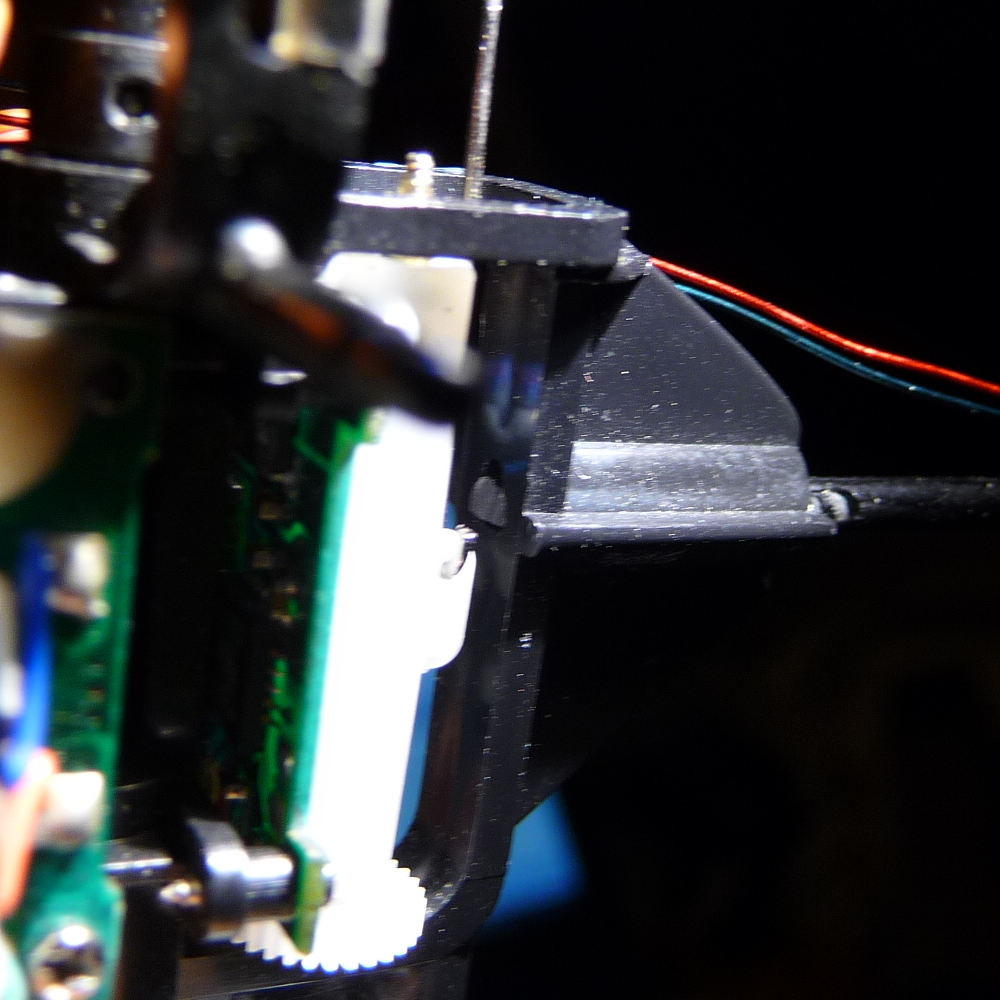
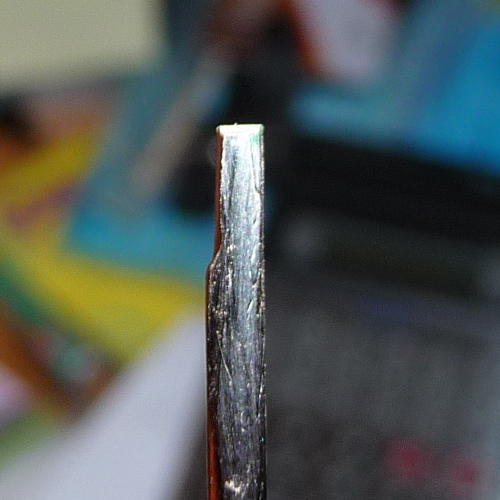
3. Make a flat side on the end to go into the frame by rubbing it on some abrasive paper held flat on a table. The original flat side is 5mm long. Be careful here.. do it in stages and test the fit as we want to remove as little material as possible. The closer the fit the less slop ( rotation of the tail boom ) there will be and the angle of the tail motor will remain constant once fitted. When the length and depth of the flat are correct you should just be able to see the end of the boom poking through on the forward side of the frame mounting.


4. Insert the new boom into the frame with the flat side downwards.
5. Make an 8mm long flat on the right side of the tail end of the boom so that the motor wires have a little room to pass through the mount and beside the new boom. Exiting on the right side will allow them to pass beside the clip on vertical fin.
6. Carefully slide the tail motor mount onto the boom and wrap the wire around the boom.
7. Ensure that the tail motor is at 90degs to the main frame. Tail mount can be secured with a drop of CA if desired.
8. Plug the tail motor wires back into the control board.
And that's it. A new tail boom and better tail hold from the standard motor. This one ended up being 6 1/4 inches (160mm) from main frame to tail motor.
Of course now the centre of gravity is moved a little backwards but the 3 axis stabilisation will help to take care of that. If you can, moving the battery further forward will help to return the C of G to where it should be... right underneath the main shaft.